Welcome to Beginner’s School
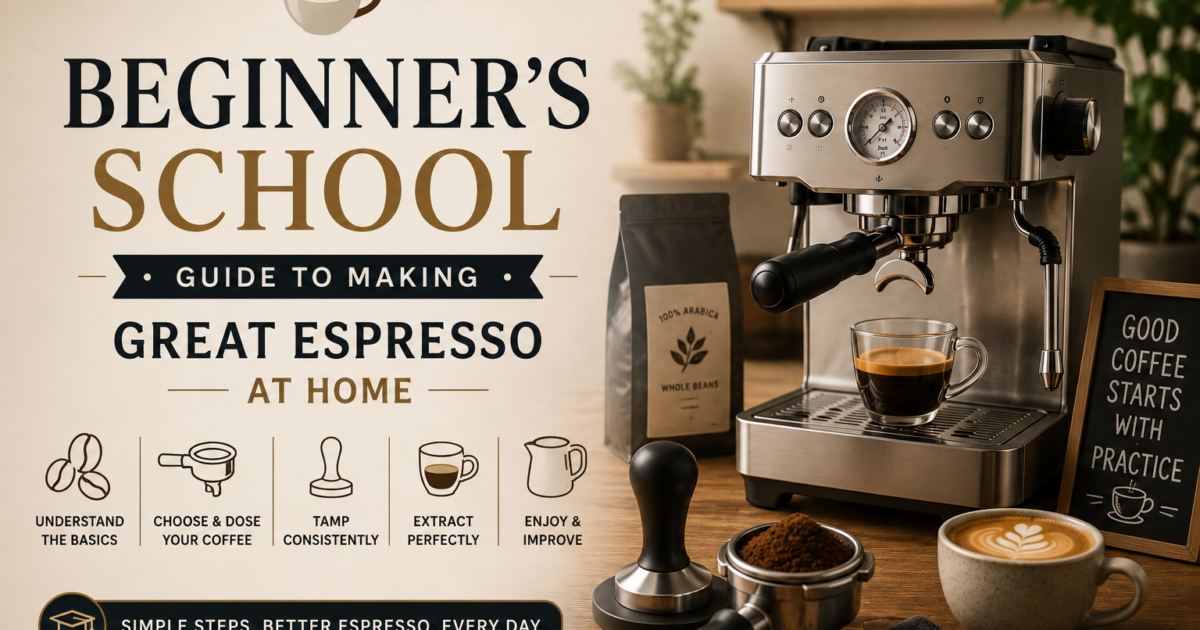
Making great espresso at home can feel overwhelming. Between the jargon, the equipment, and the technique, it’s easy to get lost. But here’s the good news: anyone can learn to make excellent espresso with the right guidance.
This Beginner’s School guide is designed to take you from complete novice to confident home barista. We’ll cover everything you need to know – from choosing equipment to pulling your first perfect shot. No jargon, no intimidation – just practical, step-by-step advice.
For more detailed guides on specific topics, check out our Best Espresso Machines 2026, Coffee Grinders Guide, or Beans & Roasts Guide.
How We Developed This Guide
This espresso for beginners guide was developed by our team of SCA-accredited baristas and coffee educators. We’ve taught thousands of beginners to make great coffee. Our expertise includes:
- SCA-accredited barista certification
- 10+ years of teaching experience
- Hands-on training for home baristas
- Testing and validation of beginner techniques
Step 1: Understanding Your Equipment
Before you start making espresso, it’s important to understand your equipment. Here’s a quick overview of the essentials:
What You Actually Need
| Equipment | Essential? | Why You Need It |
|---|---|---|
| Espresso Machine | Yes | For brewing espresso |
| Burr Grinder | Yes | For consistent grind size |
| Scale | Yes | For measuring dose and yield |
| Tamper | Yes | For compressing coffee |
| Portafilter | Yes | For holding coffee grounds |
| Steam Jug | Optional | For steaming milk |
| Distributor/Leveler | Optional | For even puck prep |
What to Look For in a Beginner Machine
When choosing your first espresso machine, look for:
- Ease of use – Intuitive controls and clear instructions
- Reliability – Consistent temperature and pressure
- Support – Good warranty and customer service
- Price – Expect to spend $300-$500 for a quality beginner machine
Our top recommendations for beginners: Breville Barista Express or Gaggia Classic Evo Pro (with a separate grinder).
Step 2: Choosing Fresh Beans
The quality of your espresso starts with your beans. Here’s what you need to know:
What to Look For
- Roast date: Always check the roast date on the bag. For espresso, beans are at their best 7-14 days after roasting. Avoid beans without a roast date.
- Roast level: Medium to medium-dark roasts are the most forgiving for beginners. They balance acidity, body, and sweetness.
- Origin: Blends are often more consistent and balanced for espresso. Single origins can be more challenging.
- Freshness: Buy whole beans and grind them yourself. Pre-ground coffee goes stale in minutes.
For a deeper dive into choosing beans, read our Beans & Roasts Guide.
Step 3: Dialing In – The Most Important Skill
Dialing in is the process of finding the right grind size and dose for your coffee. It’s the most important skill you’ll learn, and it’s simpler than it sounds.
The Golden Formula
The standard starting point for espresso:
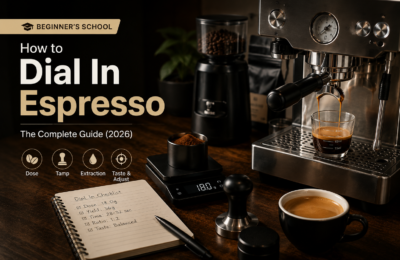
- Dose: 18 grams of ground coffee
- Yield: 36 grams of brewed espresso (1:2 ratio)
- Time: 25-30 seconds
How to Dial In Step-by-Step
- Start with a known good coffee: Use fresh, quality beans.
- Weigh your dose: Use a scale to weigh 18 grams of ground coffee.
- Grind and tamp: Grind the coffee and tamp it evenly.
- Pull the shot: Start the extraction and time it.
- Check the yield: Stop the shot at 36 grams and check the time.
- Adjust the grind:
- If the shot is too fast (under 20 seconds), grind finer.
- If the shot is too slow (over 35 seconds), grind coarser.
- Repeat: Adjust the grind and try again until you hit the 25-30 second range.
Troubleshooting Your Shots
| Problem | Likely Cause | Solution |
|---|---|---|
| Sour taste | Under-extraction (too coarse, too fast) | Grind finer, increase dose |
| Bitter taste | Over-extraction (too fine, too slow) | Grind coarser, decrease dose |
| Thin body | Under-extraction, low dose | Grind finer, increase dose |
| No crema | Stale beans or old coffee | Use fresher beans |
| Channelling | Uneven tamping or distribution | Even out your tamping |
Step 4: Puck Prep – The Key to Consistency
Puck preparation is what happens between grinding and pulling the shot. Good puck prep = great espresso.
The 4-Step Puck Prep Process
- Weigh: Measure your dose with a scale.
- Grind: Grind directly into the portafilter.
- Distribute: Even out the grounds (use your finger or a distributor).
- Tamp: Press down firmly and evenly. Aim for a level surface.
Common Mistakes
- Uneven tamping: Causes channelling and uneven extraction. Tamp with consistent pressure.
- Too much pressure: You don’t need to break your wrist – firm and level is enough.
- Forgetting to distribute: Uneven grounds lead to uneven extraction. Always level before tamping.
Step 5: Steaming Milk – The Basics
If you enjoy lattes, cappuccinos, or flat whites, you’ll need to steam milk. Here’s how to start:
Steaming Milk 101
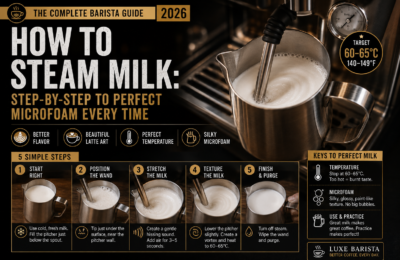
- Use cold, fresh milk: Whole milk is easiest for beginners.
- Fill your jug: To about 1/3 full (for stretching) or 1/2 full (for less foam).
- Purge the steam wand: Clear any condensed water.
- Position the wand: Place the tip just below the surface of the milk.
- Start steaming: Turn on the steam and listen for a gentle hissing sound (paper tearing). This is the stretching phase.
- Lower the jug: As the milk expands, lower the jug to keep the tip just below the surface.
- Heat to 140-150°F: The jug should become uncomfortable to hold (but not too hot to touch).
- Turn off steam: Purge the wand and wipe it clean immediately.
Common Mistakes
- Loud screeching: The tip is too high – lower it.
- Bubbles: You’ve stretched too much or not created enough vortex.
- Milk not hot enough: Continue steaming until the jug is warm to the touch.
Step 6: Pulling It All Together – Your First Perfect Shot
Now that you understand each step, it’s time to put it all together:
- Preheat your machine – Wait 15-20 minutes for the machine to reach temperature.
- Grind your beans – Grind 18 grams of fresh beans directly into the portafilter.
- Distribute and tamp – Level the grounds and tamp firmly and evenly.
- Lock in and pull – Lock the portafilter into the group head and start the shot.
- Watch and weigh – Stop the shot at 36 grams (around 25-30 seconds).
- Taste and adjust – If it’s sour, grind finer. If bitter, grind coarser.
- Enjoy! – Add steamed milk if desired.
Quick Reference Card
| Element | Target |
|---|---|
| Dose | 18 grams |
| Yield | 36 grams (1:2 ratio) |
| Time | 25-30 seconds |
| Grind Setting | Adjust to hit time target |
| Water Temperature | 200-205°F (93-96°C) |
| Pressure | 9 bars |
| Milk Temperature | 140-150°F (60-65°C) |
Frequently Asked Questions
What’s the best espresso machine for a beginner?
The Breville Barista Express and Gaggia Classic Evo Pro are our top picks. They’re forgiving, reliable, and produce great espresso.
Do I really need a scale?
Yes. A scale is the most important tool for consistency. Measuring by weight is far more accurate than measuring by volume.
Why does my espresso taste sour?
Sour espresso usually means under-extraction – the water is flowing through the coffee too quickly. Grind finer, increase your dose, or reduce your yield.
Why does my espresso taste bitter?
Bitter espresso usually means over-extraction – the water is flowing through the coffee too slowly. Grind coarser, decrease your dose, or increase your yield.
How important is the grinder?
The grinder is more important than the machine. A good burr grinder with stepless adjustment is essential for consistent results.
Can I use pre-ground coffee?
We don’t recommend it. Pre-ground coffee goes stale quickly and doesn’t allow you to adjust the grind size for dialing in.
How do I know if my coffee is fresh?
Check the roast date on the bag. For espresso, beans should be 7-14 days off roast. Avoid beans without a roast date.
How often should I descale my machine?
Every 1-3 months, depending on water hardness. In hard water areas, descaling every 1-2 months is recommended.
Conclusion: Your Journey Begins
Congratulations – you’ve completed Beginner’s School! You now have the knowledge to start making great espresso at home. Remember, practice makes perfect. Every shot you pull is an opportunity to learn and improve.
Here are your next steps:
- Buy fresh beans – from a local roaster or specialty online store.
- Start dialing in – follow the process and be patient.
- Keep learning – explore our other guides for more advanced techniques.
- Enjoy the journey – making espresso is as rewarding as drinking it.
For more detailed guides, check out our Best Espresso Machines 2026, Coffee Grinders Guide, or Beans & Roasts Guide.
External Resources (DoFollow):
Specialty Coffee Association (SCA) – industry standards and barista training
Home-Barista Forums – community advice and support
This Beginner’s School guide was developed by our team of SCA-accredited baristas and coffee educators with over 10 years of teaching experience. We’ve helped thousands of beginners become confident home baristas – no shortcuts, no sponsorships.
Some links on this site are affiliate links. We may earn a small commission at no extra cost to you.